
This page describes the steps I took to make the signal and shows how much the plan changed over a couple of weeks.
First, I decided to make just one signal instead of two separate poles, but decided to make a combined main signal and distance signal. I scaled the size of the boxes around the width of a standard light bulb, about 2" across. This made the main signal 14" wide. In my lumber pile I found some 2x6 planks and enough plywood to make two boxes to hold the lights.


The plan was to make the top signal have the aspect Hp2 (green and yellow, proceed slowly) and the distance signal have the aspect Vr0 (expect to stop), this would use just 4 lights, one green and three yellow.
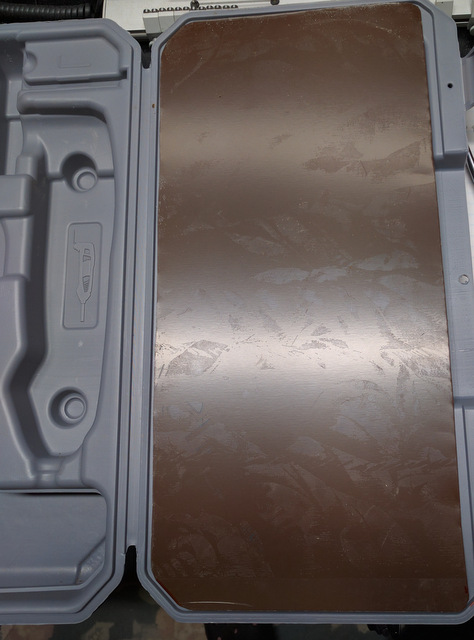
I had some scrap sheet metal and cut out 4 pieces to make the cowlings that go over the lights.

Once I had bent them into shape I lay them on the boxes I had made and showed my wife. I mentioned that there would be no hole for the red light as it was going to be fixed on the Hp2 aspect. She said I should make the hole and light anyway, so I added the additional hole in the main signal and decided to do the same for the distant signal also. I now had 7 lights!

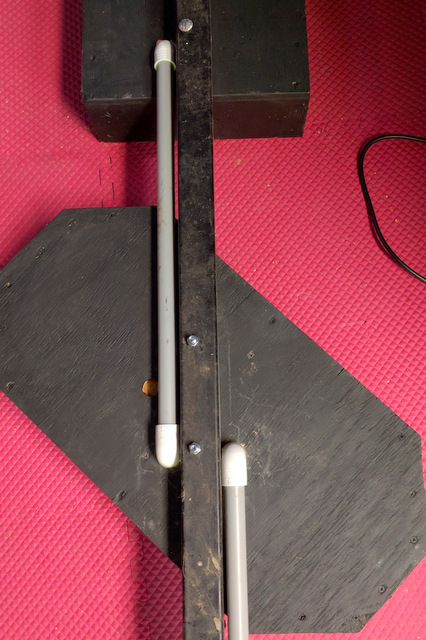
Since I had all the holes and lights, I decided I may as well make them switchable so that I can set any combination of aspects I needed. I ordered 5 more light mounts with switches so that I could pull the strings to allow the lights to be switched on and off as needed. This shows the lamp holders.


If I switched each light on and off individually, it would be possible to set invalid aspects - such as red and green at the same time, one could have the distant signal on when the red is on in the main signal, etc. So I started thinking about how I could attach the strings together so that invalid aspects were not possible. I soon thought of connecting regular light switches together mechanically and then realized I had just invented double pole switches. Since they already existed I went to my box of used switches and found I had some double pole switches. I then designed a circuit using 4 switches that would allow all legal aspects to be set, and no invalid ones.

Adding switches meant I needed to enclose them in a box that looked like the typical control box seen on most German signals. I looked around the workshop and found the plastic case from a Dremel rotary tool. It was a perfect size and shape so I decided to use that.

I cut some of the sheet metal to make a control panel surface.
and I installed the switches.

I had two old 6' metal fence posts that I decided would make a good pole to hold them. My friendly neighbor has a welder and very kindly welded the two poles together. I now had a 12' pole.
I wired up the lamp holders and ran the wires through some scrap PVC conduit from one signal to the other and to the switch box.
I was concerned that light would leak from one lamp to others within the same signal, so I cut some larger PVC piping to go around each light bulb - between the lamp base, and the front panel of the signal. I glued these onto the front panels and painted the insides of them black.

Once it was all wired up I found two problems with the colored filters I had made. The first problem was that once inserted into the light holes, they all showed their color without having any lights on. Secondly, I could not get the green ones to be green enough, the bright white light shone through too much, despite multiple coats of paint. So I decided to invest in the appropriate colored LED light bulbs and discard the color filters I had made. This resolved both issues and also consume only 3W each.

Most main signals in Germany also have a white-red-white plate on the pole that allows the engine driver to pass a defective signal after obtaining permission. I painted a piece of scrap lumber and bolted that to the pole. I also painted the pole green.

The plan was to temporarily attach the signal to a utility pole outside our house, but once we carried the signal up to the road and looked for a storage place inside the carport, we found that it was so heavy we did not want to move it about every year. We then decided to mount it directly in front of our carport as a permanent fixture!
I pounded some square tubing into the ground to hold the base, and made a small metal bracket to hold the top of the pole onto the metal carport. The signal number I had made (N561) now conflicted with our house number so I moved the house number onto the signal, which fortunately, was the correct black numbers on a white rectangle.

Once in place, my wife suggested that we make the ramp past the wood pile look like railway tracks, so the project went even further. Every other plank was painted black to look like a railway tie (sleeper) and I used some brown and olive colored wood stains to make the other planks look a bit more like ballast. To simulate the rusty rail fastenings, I designed a template that enabled the fastening to be spray painted onto each tie. A stripe of silver paint represents the rails to our door.
Here is the template for painting the rail attachments and the rusty edge along the base of the running rail.

I used newspapers and masking tape to keep silver paint off

The finished result

The moral of the story is, watch out that a simple project does not get out of hand, but I have no regrets.
The train guys liked the result and we took a group picture:

It seems to be handling the rain and snow just fine

Update 2019-03-25
The controls have now been digitized and the signal is now both automated and controllable from my phone over wifi!
Update 2026-03-20
Due to a house move we took down the signal with a view to taking it with us. Alas, we found that the top signal had suffered some wood rot, so we decided it was finished, and it was taken apart and the wooden parts burnt.

10 years of Maine winters!
