Showing posts with label Signal. Show all posts

2024-12-26

Bridge diorama

I recently dismantled a Märklin train layout which included some metal Märklin 7163 and 7161 bridges. The quality of these products from the 1960s is amazing, each bridge section is stamped from metal parts and has the Märklin M-track integrated into each section. I decided to make a diorama for my son to provide a way for him to display some of his trains, as well as show off the beautiful metal bridges.


I had some very warped 7064 bridge piers that were designed to support the bridges, so I decided to use those which still had a usable faces.

There were also some old analog signals and I decided to update one of the signals with LEDs, and drive it with a RemoteSign ESP. See here for how I convert signals to use LEDs

I had some pine planks which had been part of a bed for 40 years and decided to use them as a base, layering them so as to create a small valley.


I screwed the planks together and fastened the bridge piers in place.

The piers seem to have shrunk over the decades and needed to have the space between their lugs made wider to get the tracks to fit.

I smoothed out the slopes with drywall joint compound and added some dried chunks to look like rocks.

I added additional planks at the ends and raised the roadbed so that it was at the same level as the bridge.


I decided to add a small Blockstelle at one end which would house the small RemoteSign ESP controller, the classic Faller B-121. I made a hole in the top plank at the Blockstelle end and fastened it down with two screws that can be removed if wires need to be accessed later.


Installed the electronics...


Gave the valley a base coat of green and brown acrylic paint.


Added some vegetation


Added some EnviroTex Lite resin left over from my lake.


In order to get the epoxy water off the edges and clean up the sides of the diorama, I ran both edges through my table saw!


Added vegetation


Just in case he wants to sit an illuminated train on the bridge one day I wired up one track and threaded the wires into place.


Underside of one of the bridges:


I had some actual Märklin 7299 M-track screws!


There seems to be two versions of 7299, flat and Phillips, I used the newer Phillips ones.


I added some details such as a distance marker and added some ballast:


I then added my son's set Märklin 42751 and his BR 86 from Märklin set 29536


The signal and light in the Blockstelle are powered by a single USB cable. The signal goes green (Hp1) for 2 minutes and then goes back to red (Hp0) for 5 minutes continuously. They can be controlled over wi-fi too.


2024-12-25

Converting an old Märklin signal to LEDs

Märklin produced a broad selection of color light signals and provided spare light bulbs for them for many years. I like to run signal LED lights instead of incandescent for a few reasons (power consumption, heat, longevity, ability to control brightness using pulse width modulation, and 3V).

Here is how I converted some old Märklin signals to use LEDs.


First, I remove the base, and unscrew the safety cage.


and and separate the channel that holds the wires from the rest of the pole by levering it away using the holes in the mast...


... resulting is these parts.


Then I separate these parts, discarding the small contact strips.


The holes in the housing are just the right size for 3mm LEDs. The appropriate color LEDs can be pushed in from behind.

Since I control my signals using a RemoteSign ESP, and they typically switch the positive side, I connect one wire to be the common negative for the LEDs in the signal head. The negative side of each LED is the side with the small flat edge on the rim of the LED. I insert the LEDs so that these negative sides can all connect together. All the positive sides must get their own wire, each uninsulated from all others. I use Kapton insulation to keep them electrically isolated from each other.

I make sure to leave room for the screw that hold the signal head together. I solder an appropriate color wire to each light (here a two aspect signal):

I solder a brown onto all the negative sides.

I push the wires back into the mast and thread them out the side of the mast above the lower screw hole.


I then solder a 220 Ohm resistor to each of the positive wires. (200 Ohms is appropriate when supplying the signal with 3.3V and produces a brightness that is not too bright.)


Once soldered I slide the heat shrink tubing down over the exposed connection and heat it with the hilt of the soldering iron.

I then test the signal by connecting +3.3V to the color wires and the negative to the brown wire.


Once I know all the aspects work, it can be installed on the layout!


2019-03-26

Outdoor signal with wi-fi control

A few years back I created a replica of a German signal which stands outside our house. It was manually controlled by four switches in the base. Some folks were surprised that I had not made it fully automated and controllable from my phone, so to appease the underwhelmed, I have now done so!

I replaced the four toggle switches with an ESP8266 processor which drives an array of relays that switch each light on or off as needed.

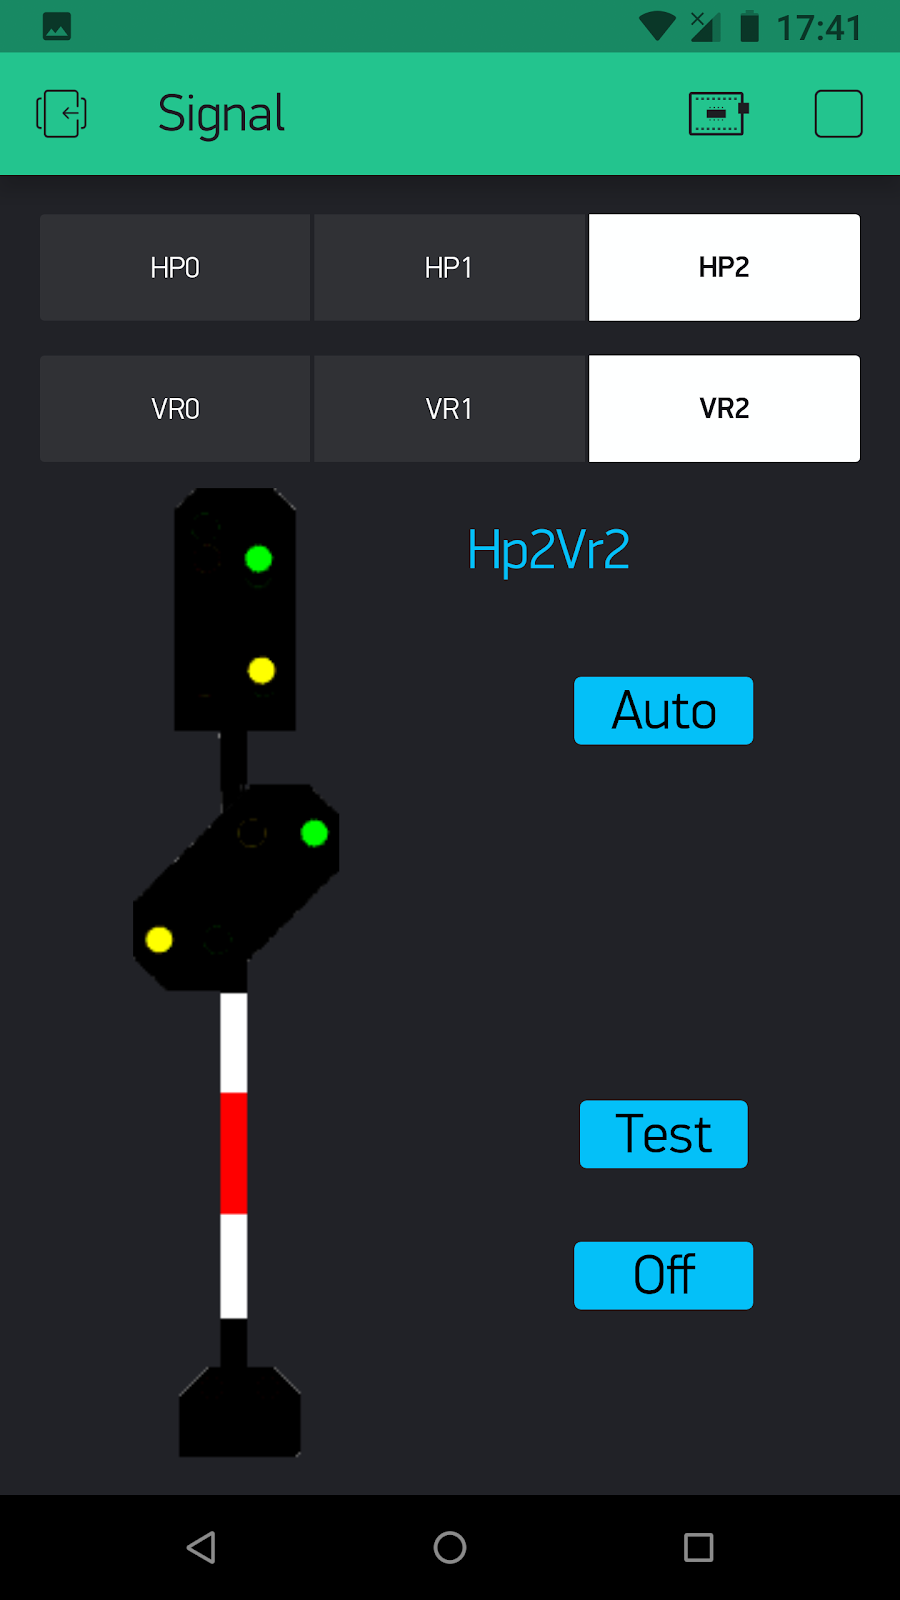
An app on my phone allows me to pick any aspects for the main signal and the distance signal.

2018-07-08

Repairing a signal

Correct Vr1 display
I have a main signal combined with a distance signal at  the entrance to my main station. I noticed one day that one of the LEDs of the distance signal was not working. When the distance signal is set to Vr1, it should display two green lights:


Faulty Vr1 aspect

But I was only getting one green light, like this:


2016-11-20

Buchfahrplan generation

In the prototype, the train driver has a document that describes the route to be traveled and what can be expected along the way. This includes distances, stations, speed limits, level crossings and any other relevant data such as when the train is scheduled to arrive and depart at each station. In Germany this is known as the 'Buchfahrplan' (Book schedule). These used to be printed booklets and now electronic schedules are also used in some trains.

Here is an example of a printed Buchfahrplan. Column 1 shows the distance along the track, Ulm starts at km mark 94,0. Column 2 shows the maximum speed limit and the third column indicates what is to be expected, such as turnouts, signals, entry and exit speeds and of course the names of the stations. The last columns indicate the arrival and departure times, in this case for trains 1013 and also 1735.

2016-10-29

Creating a replica of a German Light signal

Each year I invite a group of train friends around to visit the layout. Since we live down the end of a dead end road I thought it would be fun to install a signal next to the road for them to see just before they arrive at the house. A distant signal at a neighbor's house would make it nice and prototypical. The plan was to make a simple black board with the required lights in it and run an extension cord to it.


This page describes the steps I took to make the signal and shows how much the plan changed over a couple of weeks.

2016-01-31

Making poles vertical

I recently installed a lot of catenary masts, often on sloping landscape. Getting the poles all perfectly vertical can be tricky so, since I have laser levels I decided to use them. I am in the very fortunate position to have two, allowing me to direct both lasers onto each pole from different point in the room. This allows me to bend the pole to a good vertical position very quickly.

Here a Sommerfeld mast can be seen with two laser lines in vertical planes shining on the mast, showing that the pole is now vertical.

I know most people may not have a laser level, never mind two of them, but if you can borrow two and use them to straighten all your poles and signals in a day you can save a lot of time.

2016-01-24

Installing signals

I thought I would share how I install my Viessmann signals on my layout. The Viessmann color light signals use LEDs and are of excellent quality.

2016-01-02

Signal operation

A demonstration of how signals and their distance signals are set in my model train layout software. German colour light type signals are used to represent the signals on screen.

2014-12-29

S-Bahn redo

My original S-Bahn station turned out well, but I used the wrong glue to stick the printed platform onto the wood and it soon lifted and looked ugly. So with the move to the cabin I decided it was time to redo the station.

I have laid and tested a double line loop that branches off the hidden track area below the town, so now it was time to rebuild the station.

 Previously the roof could be carefully lifted out the front but this needed two people to do and was rather difficult. My new plan is to place the roof onto some drawer runners such that the roof can slide back behind the rear wall of the station.

I decided to use the same (heavy) roof structure but replace the old rope light with newer LEDs.  I pulled the old rope light out and inserted the LED strips into the same grooves.

2014-08-28

Browser access to the layout!

Nine years ago I wrote an app for my Hewlett-Packard Pocket-PC that communicated with my train layout control software and could thus be used as a wireless mobile controller for the layout. It worked fine, but with time, the HP device is no longer current, can't hold its charge and is not really useful. I thus decided to replace the app with a plain browser-based solution. This would mean that any browser based device could be used, meaning that any modern smart phone could be used. Visitors to my layout can use their own device to operate trains!

This means that I essentially had to add an HTTP server to my software, and generate the HTML pages dynamically. It took a couple of weekends and I am very pleased with the results.

The main functional features are:

1. Switching the layout power.
Power can be switched on, off, or the 'halt mode' can be set on. These controls are available at the top of every screen (including the '404 not found page!).
This ensures that the power can always be switched off in case of emergency, such as a derailment.


2014-08-13

Viessmann 5210 Signalsteuerbaustein

I use the Viessmann signal modules to drive my light signals from k83 (Viessmann 5211) type modules.

Advantages of these modules are:
  • You can use momentary contact decoders (k83) type instead of K84s
  • Once a signal aspect is selected, it is latched (held) by the module
  • Each module can support two signals (up to a 3 aspect plus a 4 aspect)
  • It has the ability to handle the Dunkelschaltung of German distance signals on the same pole when the Hp signal is on aspect 0
  • It can use 16 VAC or DC input
  • The signal lights fade out prototypically
I find it useful to mount them on Velcro strips as shown below. In this case I needed to drive 3 HP0/1 signals and one Vr0/1/2 signals plus a couple of turnouts so I needed two 5211 modules to do the digital switching.

2013-10-18

Signal module rack

I attached the rack of K83 type modules and the Viessmann signal modules under the benchwork.


This was mostly to get the rack out of the way as it is a long way off before I will be able to connect any signals...

2011-03-05

Märklin turnout-lantern 7547

I have some K-track turnout lantern sets and I decided to install some today.


2011-01-23

Signal aspect display in cabview

Some years ago I added the functionality to display signals that the train is going past, to be displayed in the cab view. This is of course needed when driving a train manually using the cab view - for the same reason that the real train driver needs to see the signals... below are some examples of how signals are displayed...

Here the train sits at an Hp00 signal

2008-01-07

Water crane lamp signal Ve7

Water cranes, used to supply water to steam locomotives, had a signal lantern mounted on the arm that could swing over the track.

These lanterns had red on the sides and white on the front and back. This means that if the arm was over the track, a red signal would be presented to any locomotive on the track in either direction, warning the driver that the arm was over the track. When swung away off the track, white lights would be presented. The official signal designation is Ve7

I explored the possibility of creating illuminated replacement lamps for the water cranes I am building.

I used transparent styrene to create a lantern the same size as the original solid plastic items supplied with the Faller 120137 kit. Into that I inserted a surface mount LED. In order to keep the brightness very low I used a 47K Ohm resistor at 12V - resulting in a current of only 0.2mA!

Here is the first lamp with the Faller original lying below it. It is supported only by the two wires going to it.

2007-09-23

Viessmann 4018 Dwarf shunting light signal

The Viessmann 4018 signal is a model of the small 2 aspect signal typically found in swithing yards. It provides Hp00 and Sh1 aspects and uses LEDs.


They install easily. I was disappointed to find that the Sh1 lights use yellow instead of white LEDs. The catalog shows white lights and I fully expected them to be white as in the prototype. The company is switching to white LEDs in their new signal developments but these will not be retrofitted with white ones.