
Showing posts with label ESP8266. Show all posts
Showing posts with label ESP8266. Show all posts
2019-05-26
Working HO scale platform signs
Since I constructed my underground S-Bahn station in 2003, new technology has enabled some exciting upgrades. After creating a miniature arrivals and departures sign for my HO scale main station, I decided to also make some platform specific signs for both platforms of my underground S-Bahn station. This enables the passengers to see what the next arrival or departure is.

2019-03-26
Outdoor signal with wi-fi control
A few years back I created a replica of a German signal which stands outside our house. It was manually controlled by four switches in the base. Some folks were surprised that I had not made it fully automated and controllable from my phone, so to appease the underwhelmed, I have now done so!
I replaced the four toggle switches with an ESP8266 processor which drives an array of relays that switch each light on or off as needed.
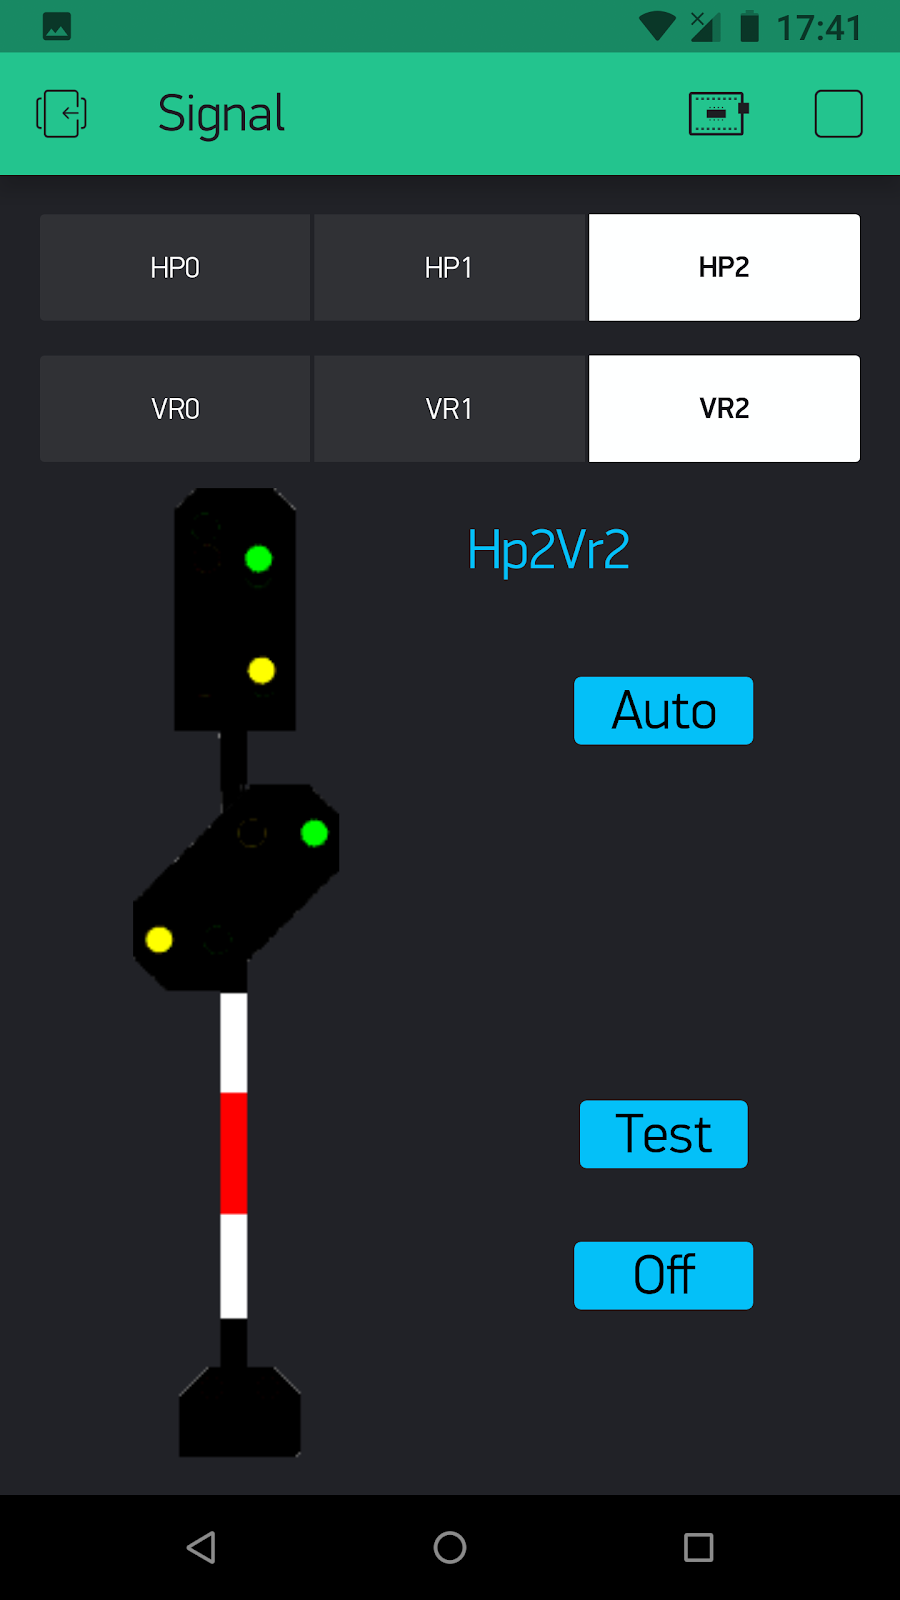
An app on my phone allows me to pick any aspects for the main signal and the distance signal.

I replaced the four toggle switches with an ESP8266 processor which drives an array of relays that switch each light on or off as needed.
An app on my phone allows me to pick any aspects for the main signal and the distance signal.
2019-02-19
Miniature RemoteSign for arrivals and departures
About 12 years ago I created RemoteSign so that I could display arrival and departure information for the trains. I use that on multiple monitors in the layout room to display traffic movements for different stations. I have now taken that a step further, by implementing RemoteSign on a microprocessor that drives small OLED displays, small enough to be used within an HO scale station!
I have not yet built my main station building kit, so I took this photograph of it sitting on my desk with an HO scale figure to show its size. It shows real-time data of my model train movements in my Wilsnack station. (The protective screen is still on the screen making the text look a bit fuzzy.)

I have not yet built my main station building kit, so I took this photograph of it sitting on my desk with an HO scale figure to show its size. It shows real-time data of my model train movements in my Wilsnack station. (The protective screen is still on the screen making the text look a bit fuzzy.)

2019-01-18
Room lighting with RemoteSign
After 6 years, I decided to upgrade my layout room lighting so that I could also control it from the layout software.
I wanted to be able to dim the room lighting automatically so that sunrise and sunset sequences could be done smoothly. Until now I had to manually adjust the dimmers of three lighting circuits which was somewhat tricky.
Purchasing digitally controlled lighting would have been prohibitively expensive and furthermore I was not prepared to remove the existing LED strips from the ceiling above the layout. I decided to implement digital access to the lighting by adding electronics where the existing lights obtained their power and were controlled by the dimmers.
I have four circuits:
I decided to use an ESP8266 NodeMCU processor to control the lights. This is a small processor about 1" x 2" in size and can be bought for less than $5. It is capable of connecting to WiFi and has a number of outputs that can be used for the lighting, but these outputs are only 3.3V and only capable of 12mA, so those logical level outputs had to be fed to some components that amplify the signals and drive the high current load of all the lights.

I wanted to be able to dim the room lighting automatically so that sunrise and sunset sequences could be done smoothly. Until now I had to manually adjust the dimmers of three lighting circuits which was somewhat tricky.
Purchasing digitally controlled lighting would have been prohibitively expensive and furthermore I was not prepared to remove the existing LED strips from the ceiling above the layout. I decided to implement digital access to the lighting by adding electronics where the existing lights obtained their power and were controlled by the dimmers.
I have four circuits:
- Warm white ceiling lights - drawing about 3.5 Amps at full power.
- Cool white ceiling lights - drawing about 5 Amps at full power.
- Mountain backdrop lights - drawing about 2.7 Amps at full power.
- Hidden area lighting - on/off - which draws about 3 Amps.
I decided to use an ESP8266 NodeMCU processor to control the lights. This is a small processor about 1" x 2" in size and can be bought for less than $5. It is capable of connecting to WiFi and has a number of outputs that can be used for the lighting, but these outputs are only 3.3V and only capable of 12mA, so those logical level outputs had to be fed to some components that amplify the signals and drive the high current load of all the lights.
I also found some technology called Blynk which includes the ability to easily create an app that runs on mobile devices and can 'talk' to the ESP8266, thus providing a handy visual interface to control the lights. Here is what my Blynk app for the lights looks like:

Subscribe to:
Posts (Atom)