I was given a set of Vollmer buildings called "Bahnhofstraße" (Station Street) item 3675. It is a box of five buildings that were/are also available separately. I started with the butcher shop which is an end building with two large shop windows. The building is also sold as item 3674. This post describes how I built it and added super detailed interior.


I weathered the outer walls before starting assembly. I added a white wash to fill in the mortar on parts that were brick, wiped the excess off and then used black paint to make the bricks dirty.

It is decades since I constructed a Vollmer kit, usually preferring Faller kits and I was reminded why I prefer Faller kits. Generally the design is poor. The shape of some of the walls make it impossible for them to be fully joined, leaving gaps at the corners, the instruction sheet shows one part reversed, errors in some part numbers. Window glass had internal blemishes, etc. A paper mask is supplied to prevent light from leaking through the walls and roof but the lengths of some of the roof edges do not even match those of adjacent edges. Some nice scatter material was supplied for flowers on the window sills but there are no flower boxes to put them into. The printed images supplied to go into the windows to show the inside of the shop were so poor, so I decided to make my own interior details.
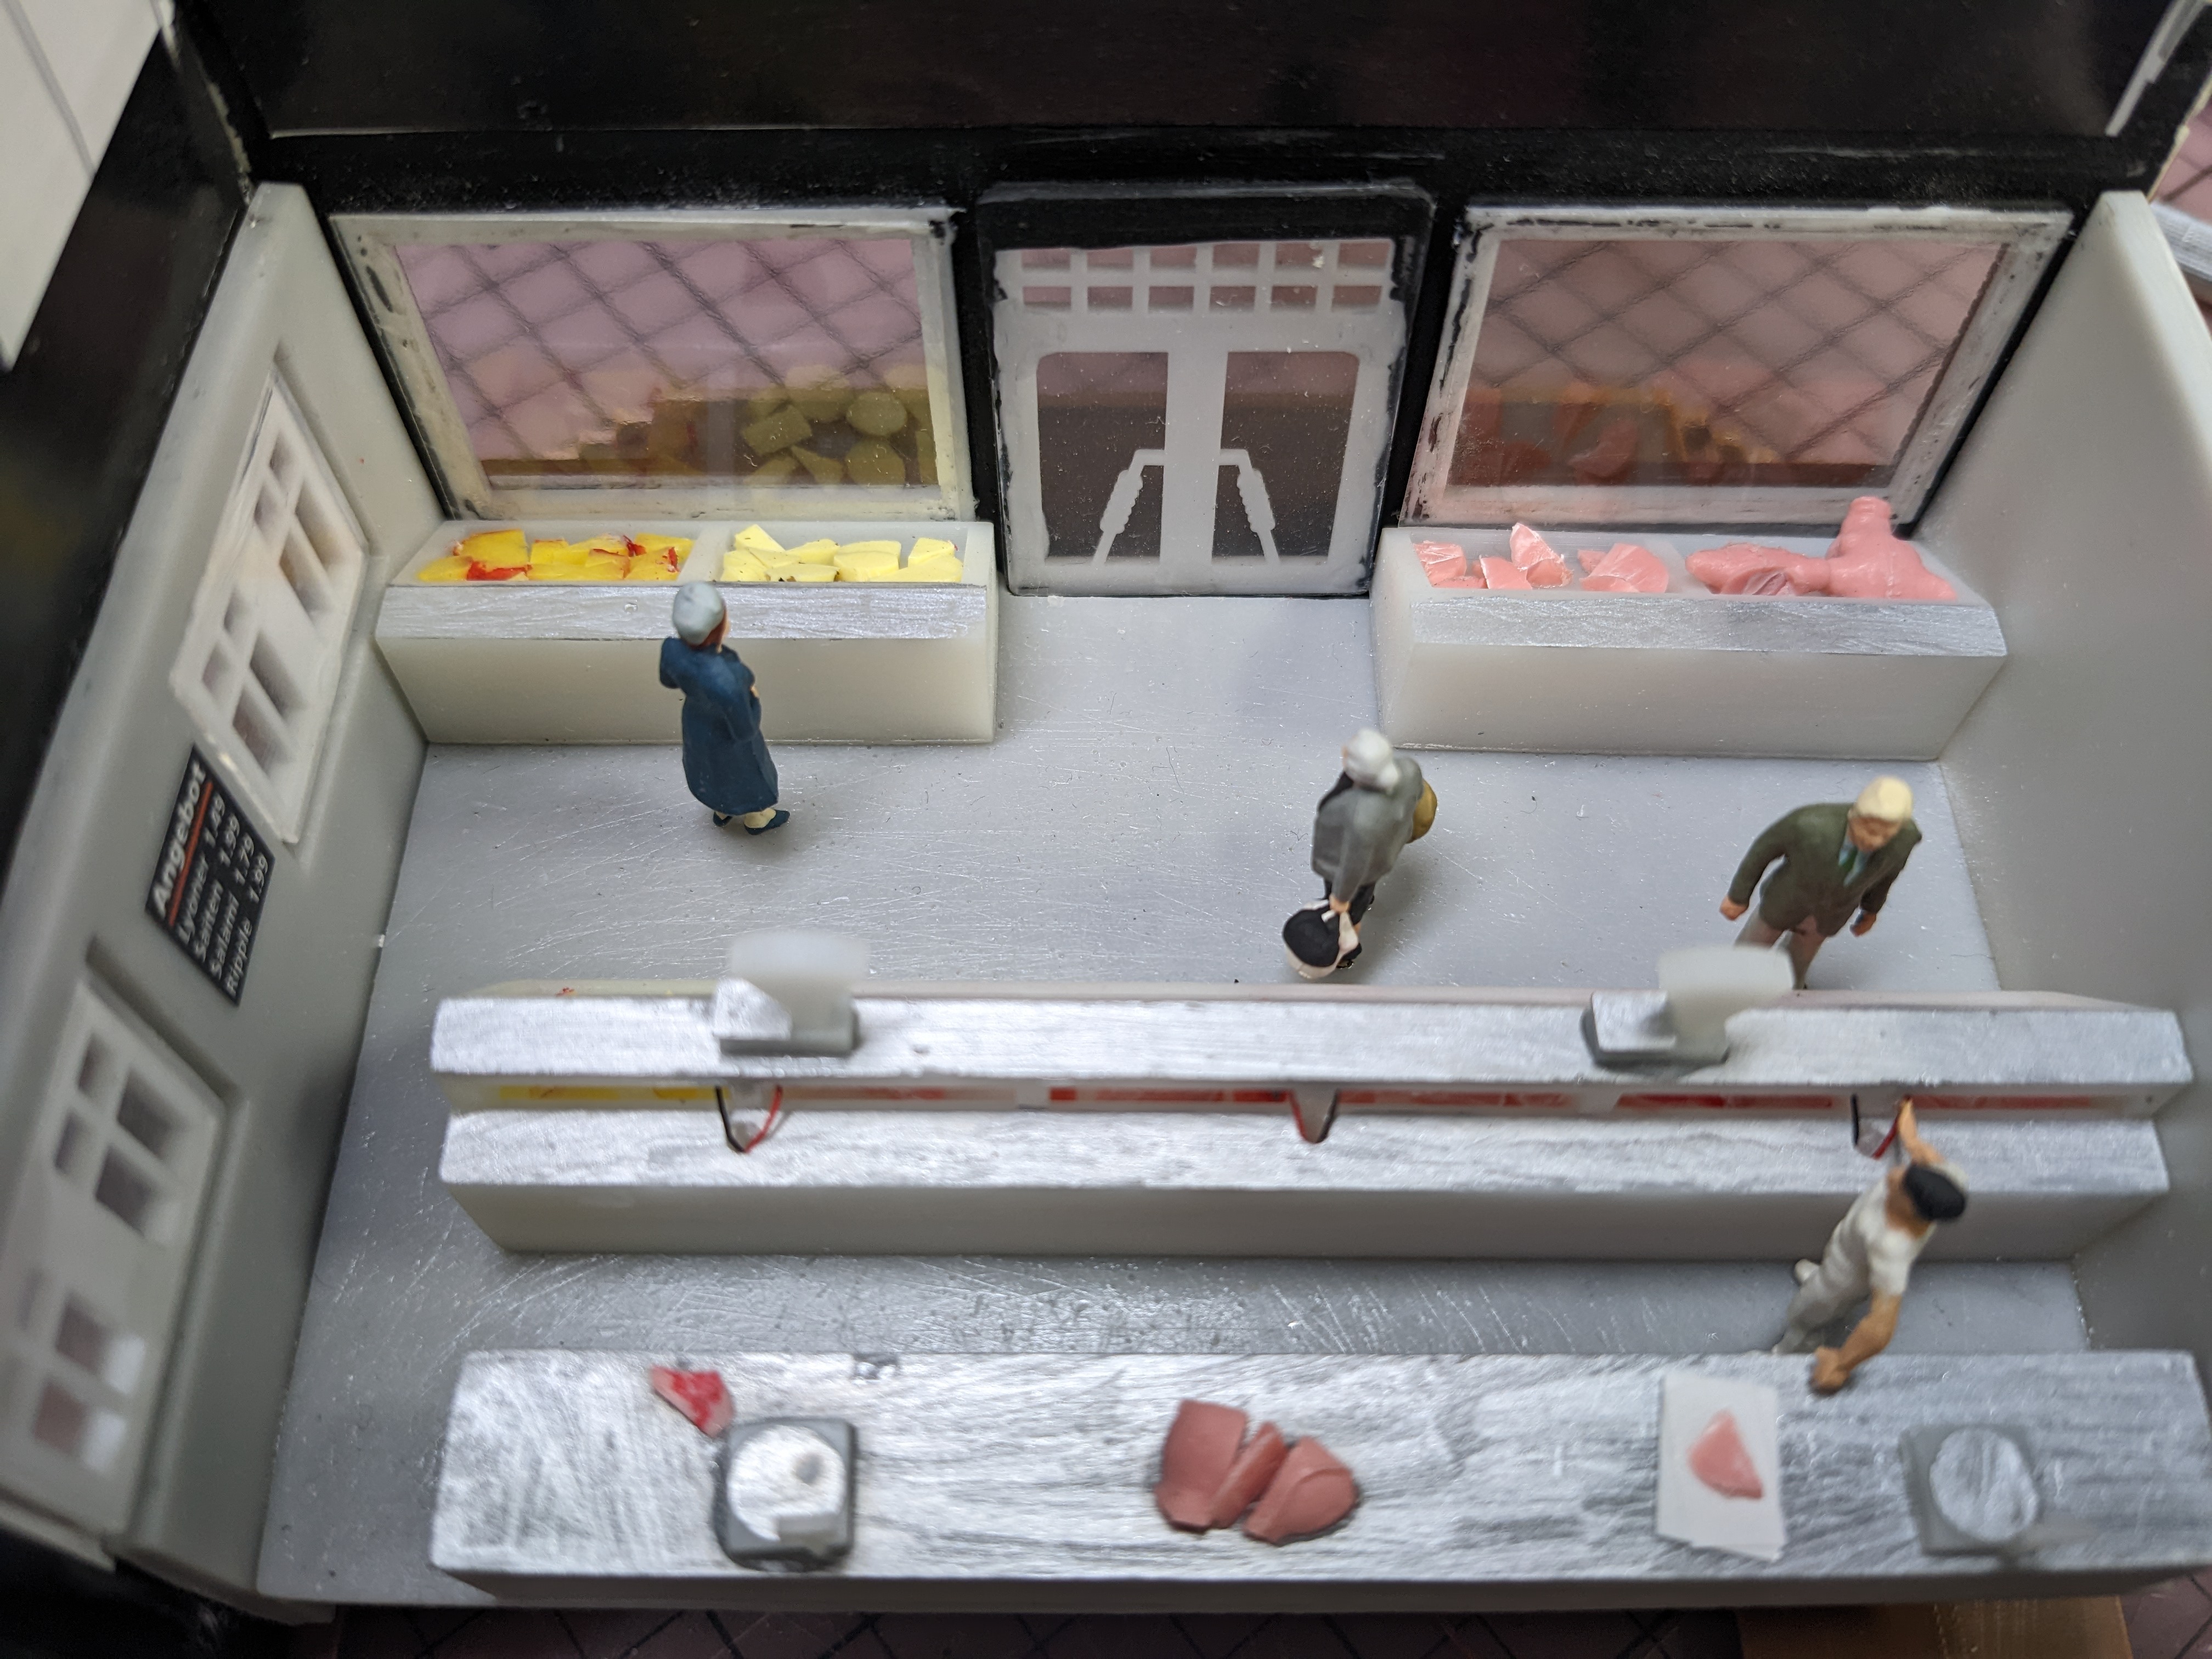
There is no floor in the kit so I knew I would need to create a floor and some display refrigerators, etc. I drew these in OpenSCAD and printed them on a resin 3D printer.


Of course, the large refrigerator would need lights, so I installed three surface mount LEDs on the underside of the top counter.

I also designed two types of scale, an older style, and a new electronic one.


I also decided it would be nice if there was a sign showing the current customer number using a RemoteSign ESP with OLED screen, - this called for a false rear wall with a hole for the sign, and a door.

The ridges at the top provide a hanging rail to attach meat, the lower ridge supports the floor, and the holes below are for routing wires.
To make the side wall windows flush with the room I needed a side wall also.

In order for lights to light the room, I would need a solid ceiling to hold them in place.

In order to aid my modified assembly of the building I cut the supplied interior light masking into 4 pieces so that they could be glued to the walls independently.
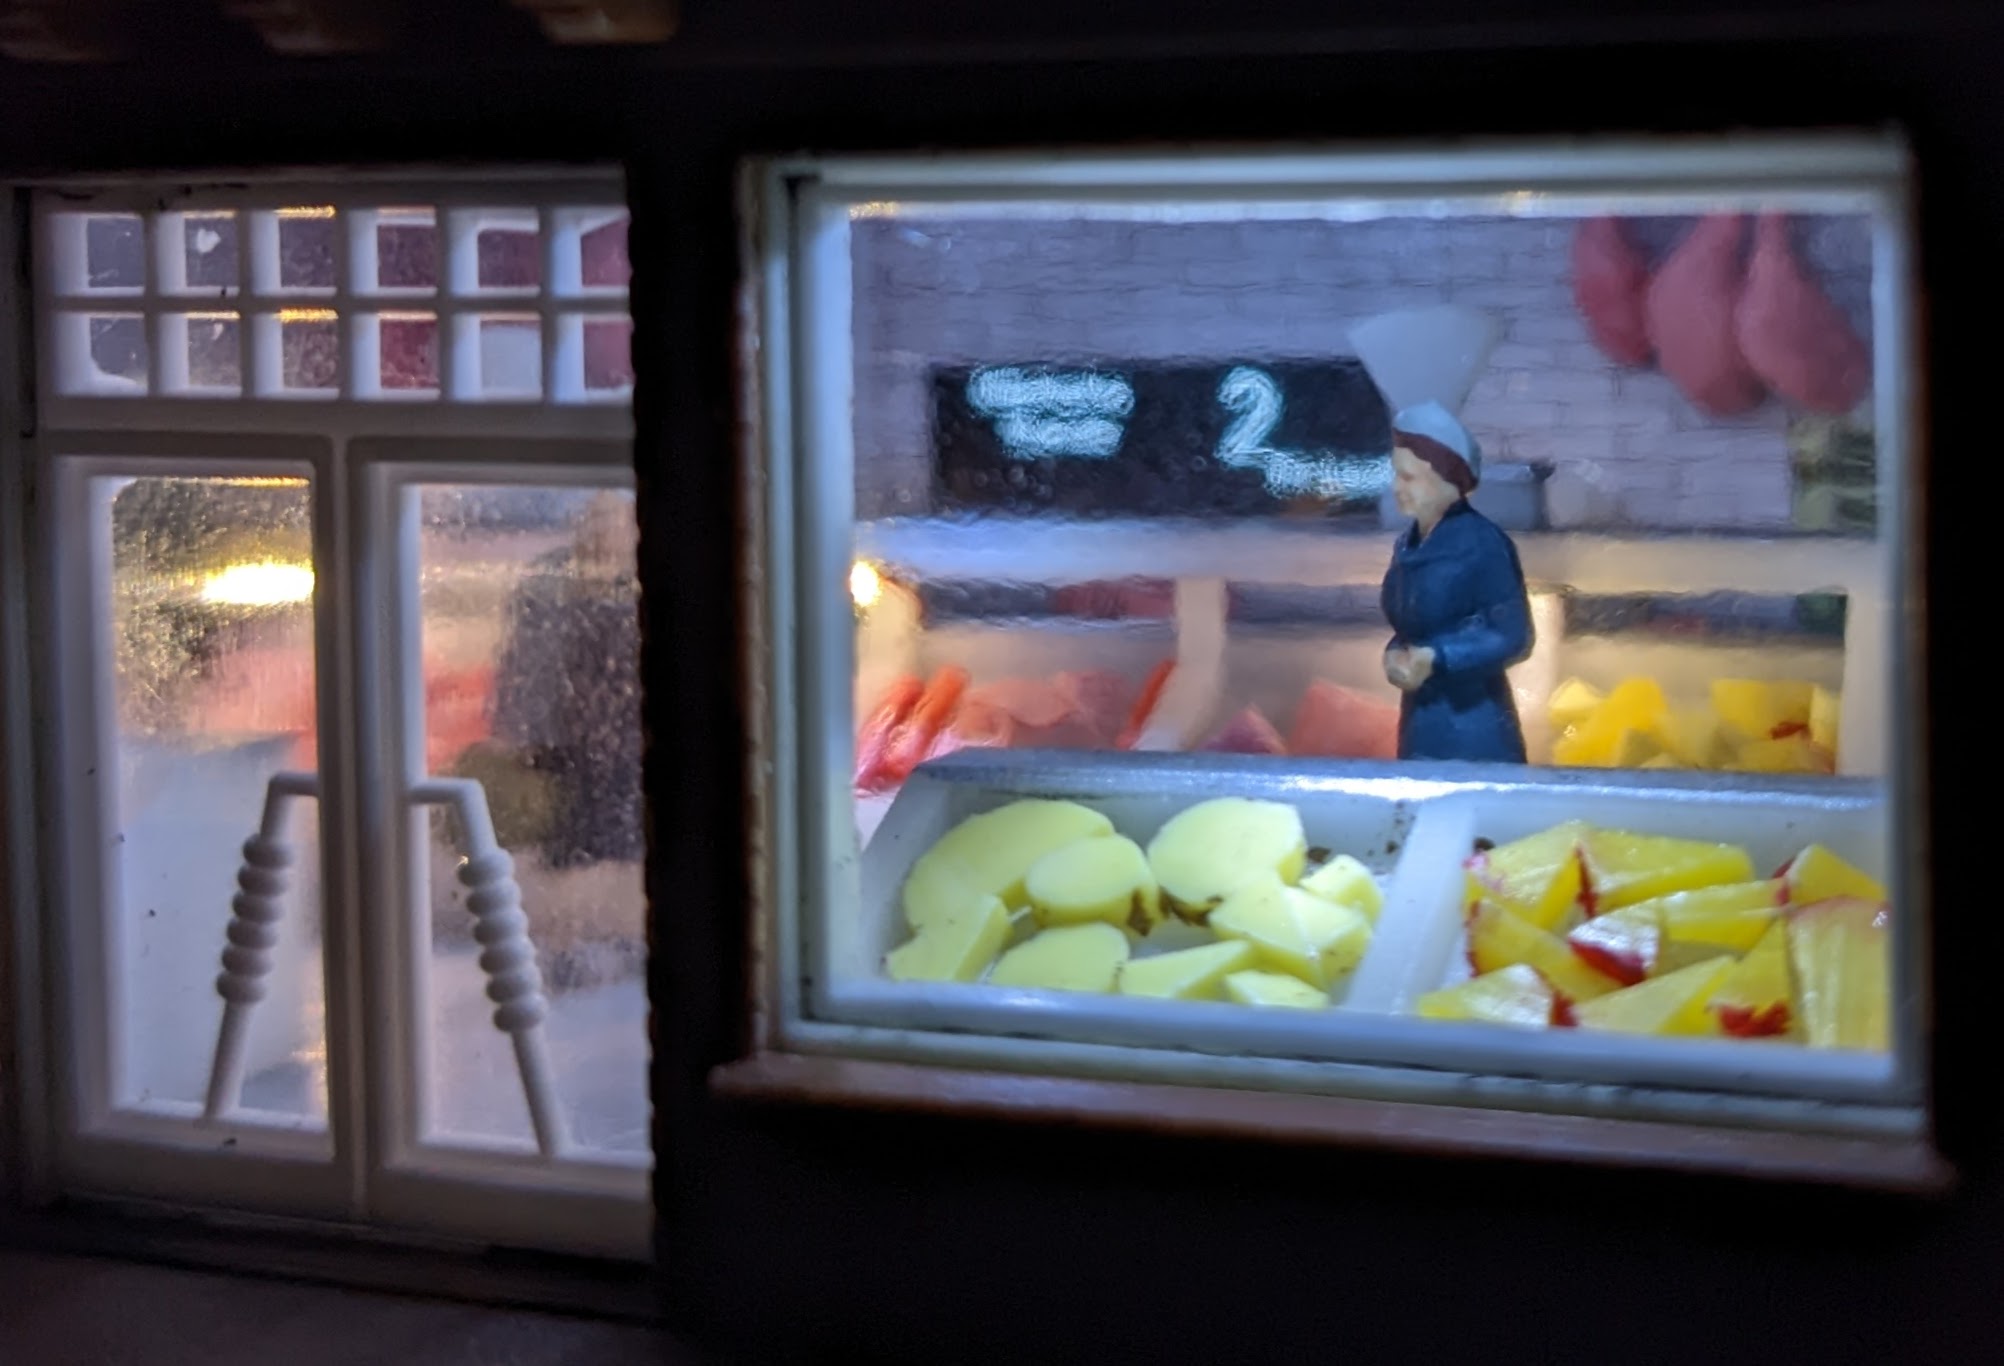
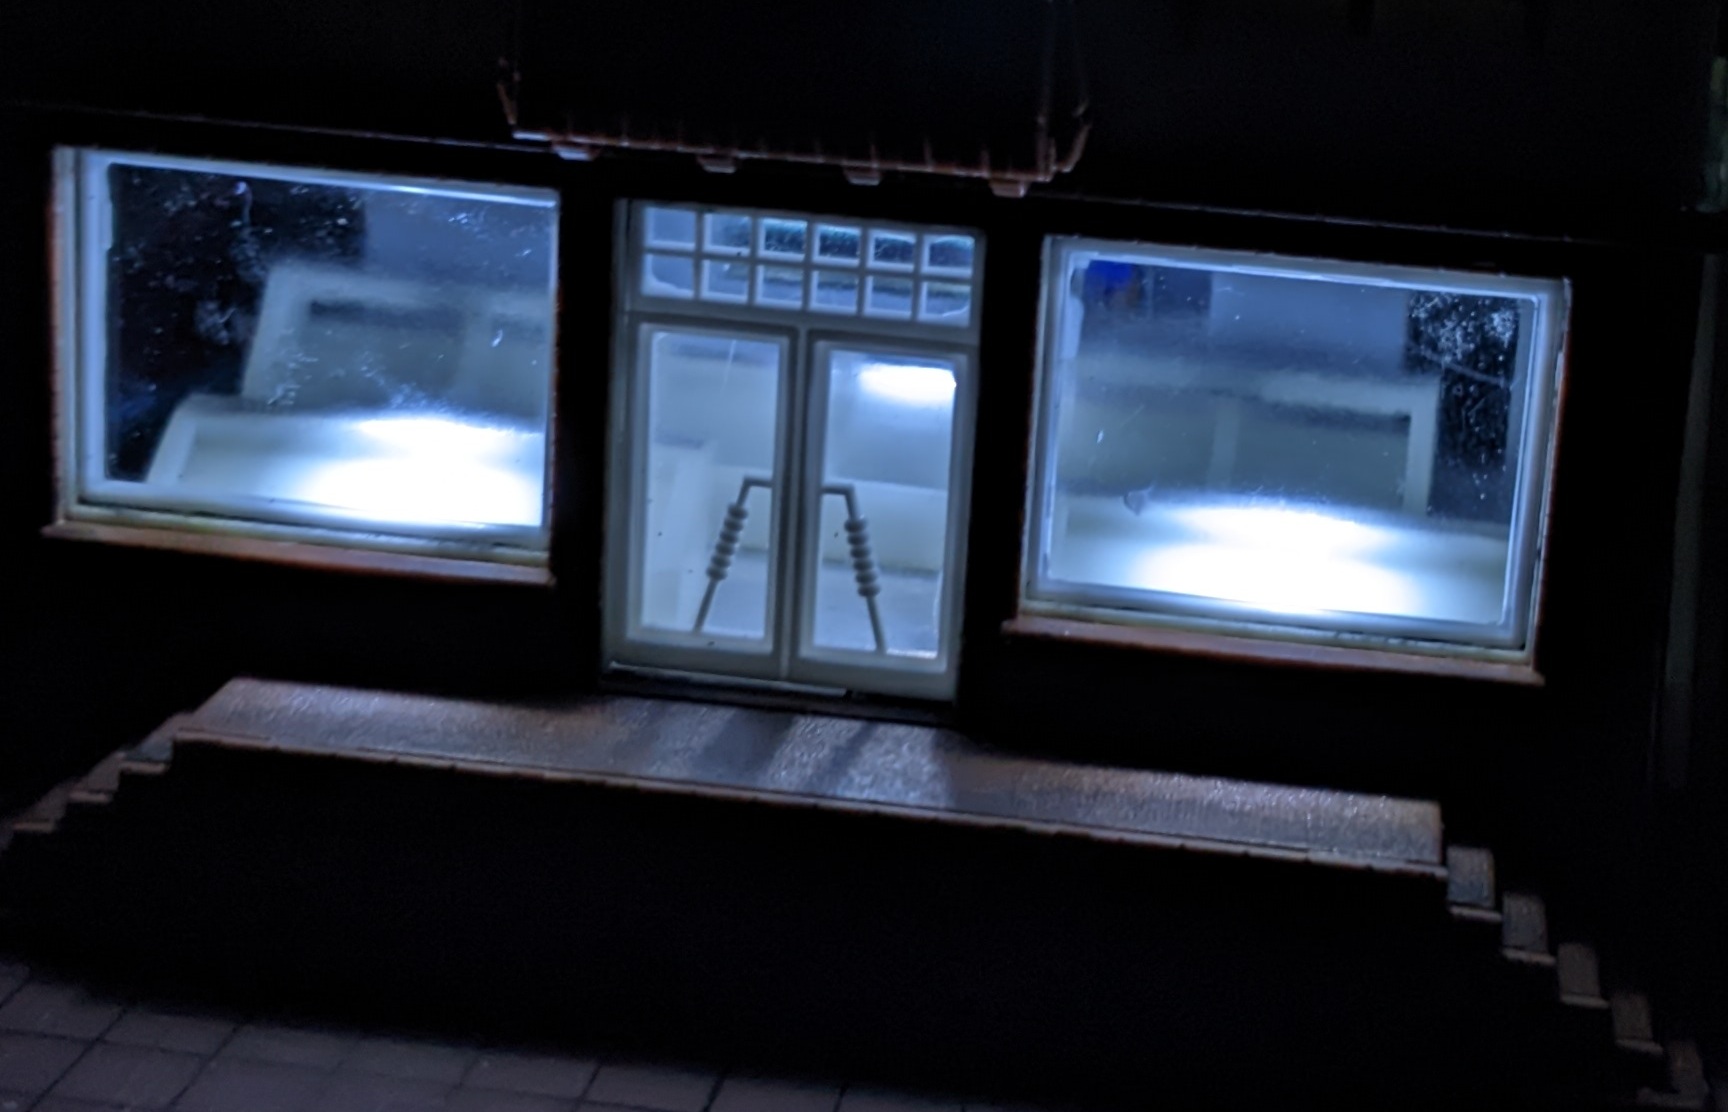
A test fitting of the walls and sign showed that the large windows on the front of the shop were not clear enough to see any of the details inside.
I managed to unglue the window panes, and I used some leftover window material from a Faller kit instead.
Now, what to put in the refrigerators? Designing rounded bits of meat in 3D would be a challenge. I decided to cut the head off an HO scale pig in order to produce a recognizable pig's head. A pink pig was sacrificed. I then found that the pink plastic could easily be cut into slices, and whole legs, etc. so I ended up butchering two pigs in HO scale. The old plastic produces perfect 'marbling' when cut too. I also cut up an old Airfix antelope and some other yellow animal to make cheese. Wire was used to make sausages.

I glued the large refrigerator to the floor and drilled holes for the LED wires and threaded them into place.
I added a paper surface to simulate a tiled rear wall and cut a hole to match the usable area of the RemoteSign screen, which also has a variety of scrolling offers as well as the automatically incrementing customer number.


As can be seen, there are three ceiling lights for the shop, plus one for the rooms above it. In addition to the screen, all the lights are controlled by a single RemoteSign ESP which provides 3.3V for each LED. I used 120 Ohm resistors. The black tape holds the OLED screen in place and also creates a hinge allowing the ceiling of the shop to be lifted.
Since I had cut the internal paper light mask, I needed to insert some supplemental masks in the corners.

I constructed the roof parts but I did not glue it to the building, this enables access if needed.
I could then do some tests to check brightness and check for light leaks.

I added some window boxes (leftovers from some other building) , water downspouts, and railing.

